I love using a set of coordinated papers to make handmade greeting cards. Everything works together beautifully, from the darks to the lights to the pretty patterns. Adding a touch of bling certainly adds extra interest to the flat cardstock, but I want to add even more personality and dimension to my DIY cards.
Ribbons and washi tape are lovely, but what I really love using are decorative trims – the kind for sewing! Decorative trims come in so many different designs and they really make your homemade cards pop with frolic and fun!
Glam Up Your Handmade Greeting Cards with Decorative Trims
Supplies:
- White lacy embroidered trim
- Blue folded card – 5” x 7”
- Pale background cardstock panel – 4.5” x 6.5”
- Patterned cardstock panel – 4” x 5”
- Markers – pink, yellow, blue
- Scotch tape
- Paper adhesive
- Clear gel glue
- Self-adhesive rhinestones

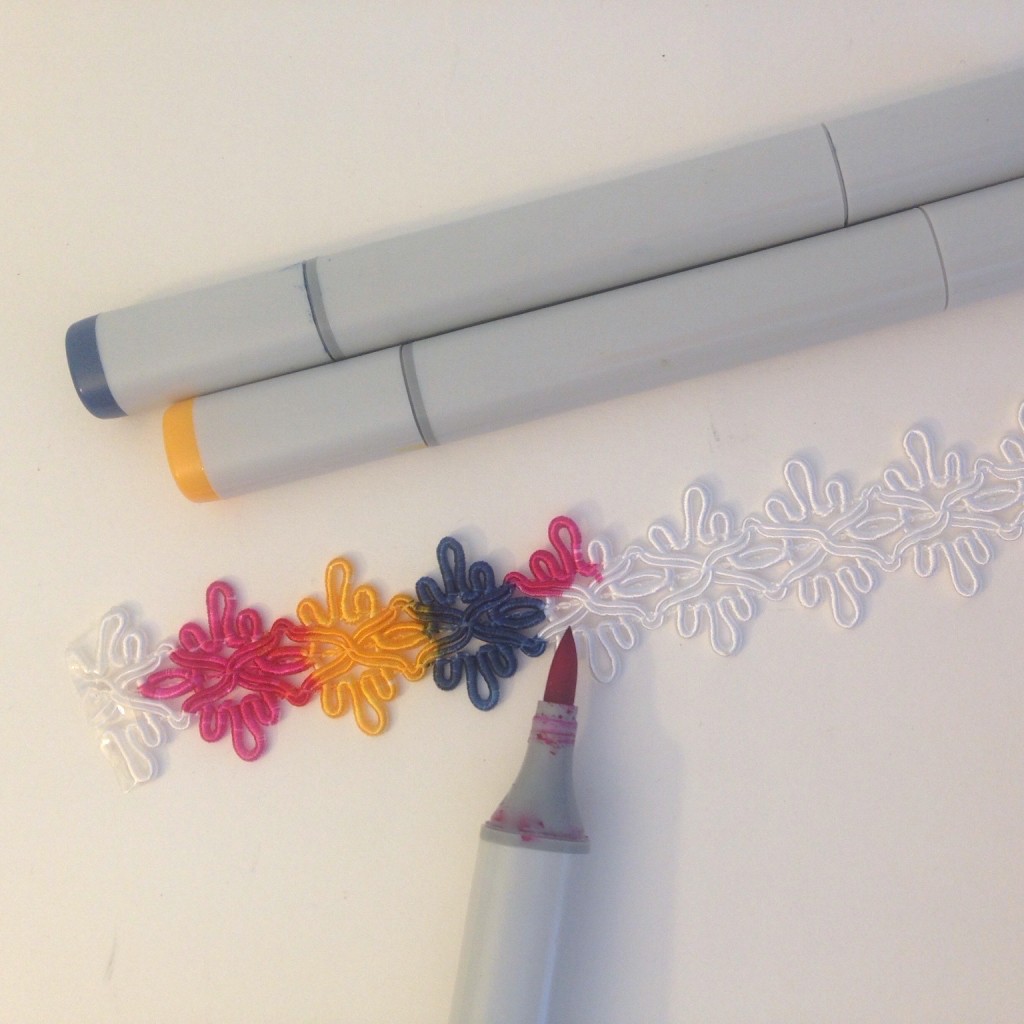
1. Color a 6.5″ length of white embroidered trim with markers – just tap the color on without rubbing the delicate threads too much.

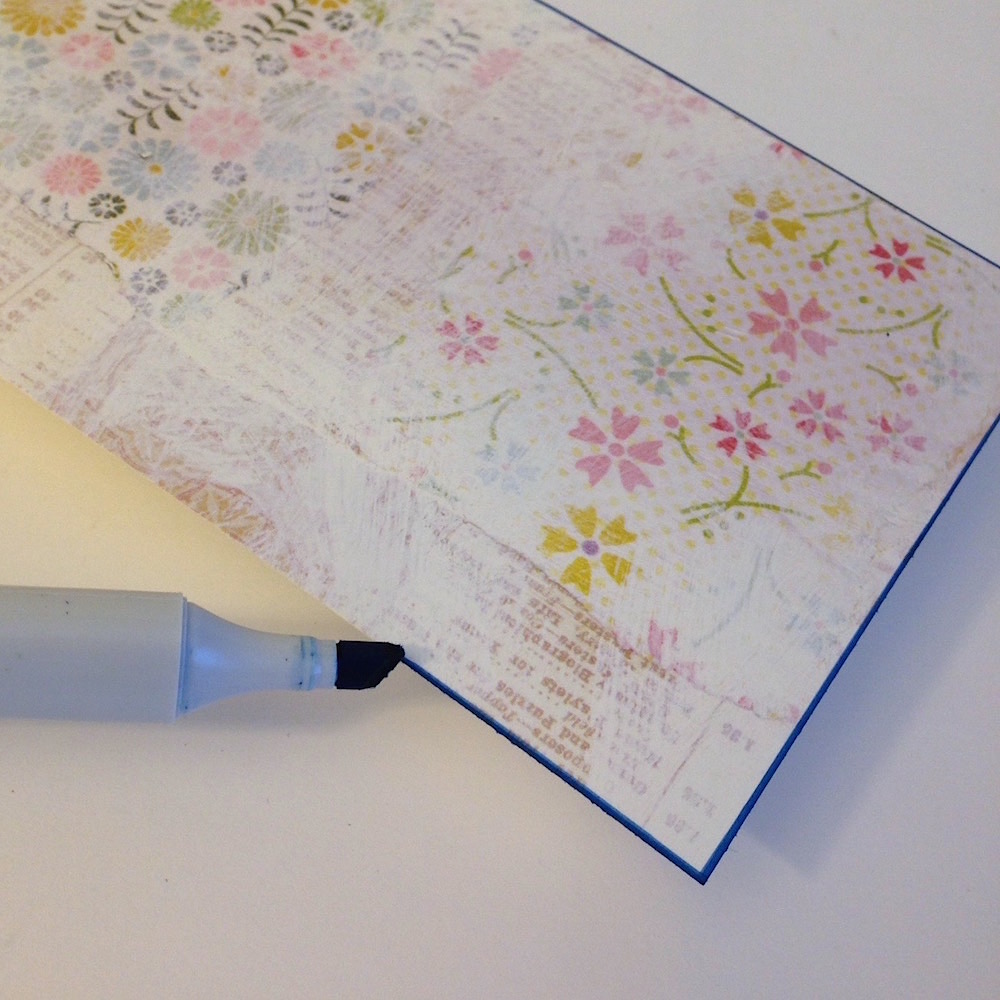
2. Ink the edges of the background panel with a marker. I really like how each layer of cardstock stands out when you ink the edges.

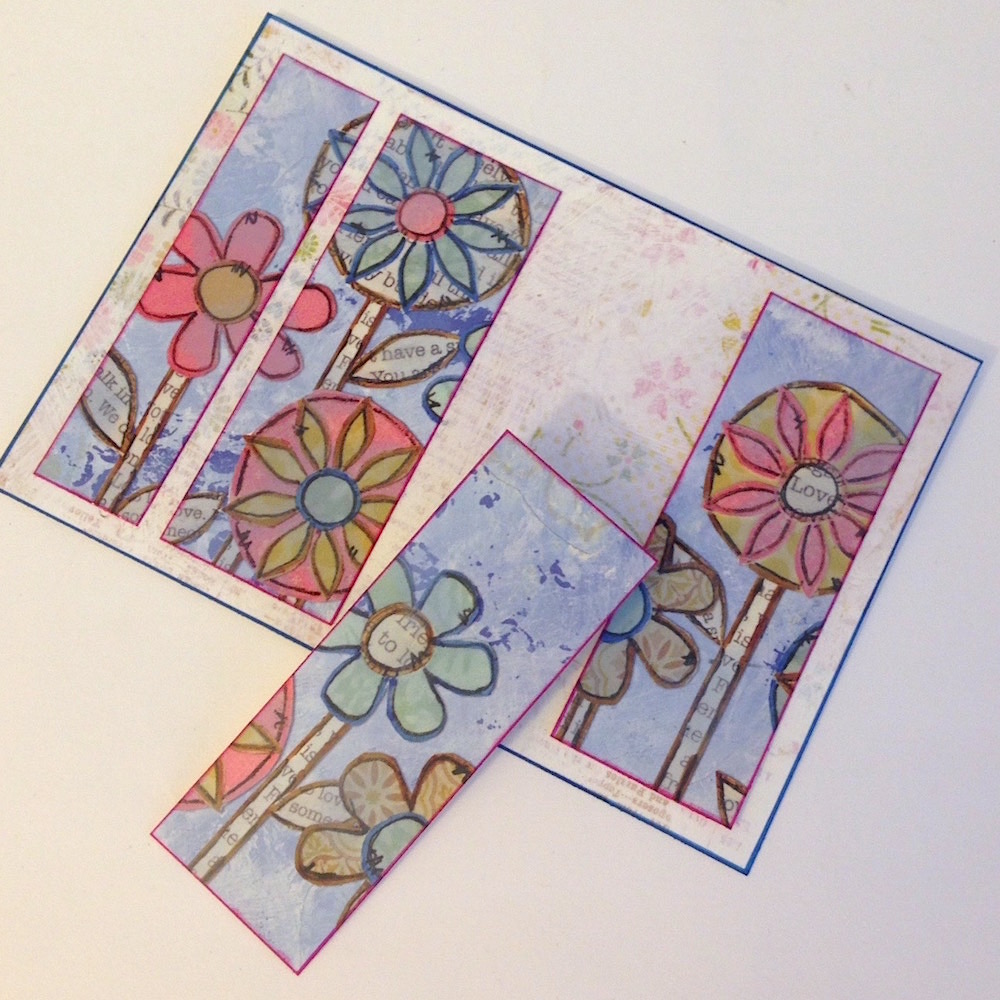
3. Slice the patterned panel into 4 strips (even or varied widths) and ink the edges. Glue them like windowpanes (with space in-between) to the background panel, working from the outside in toward the center for even spacing.

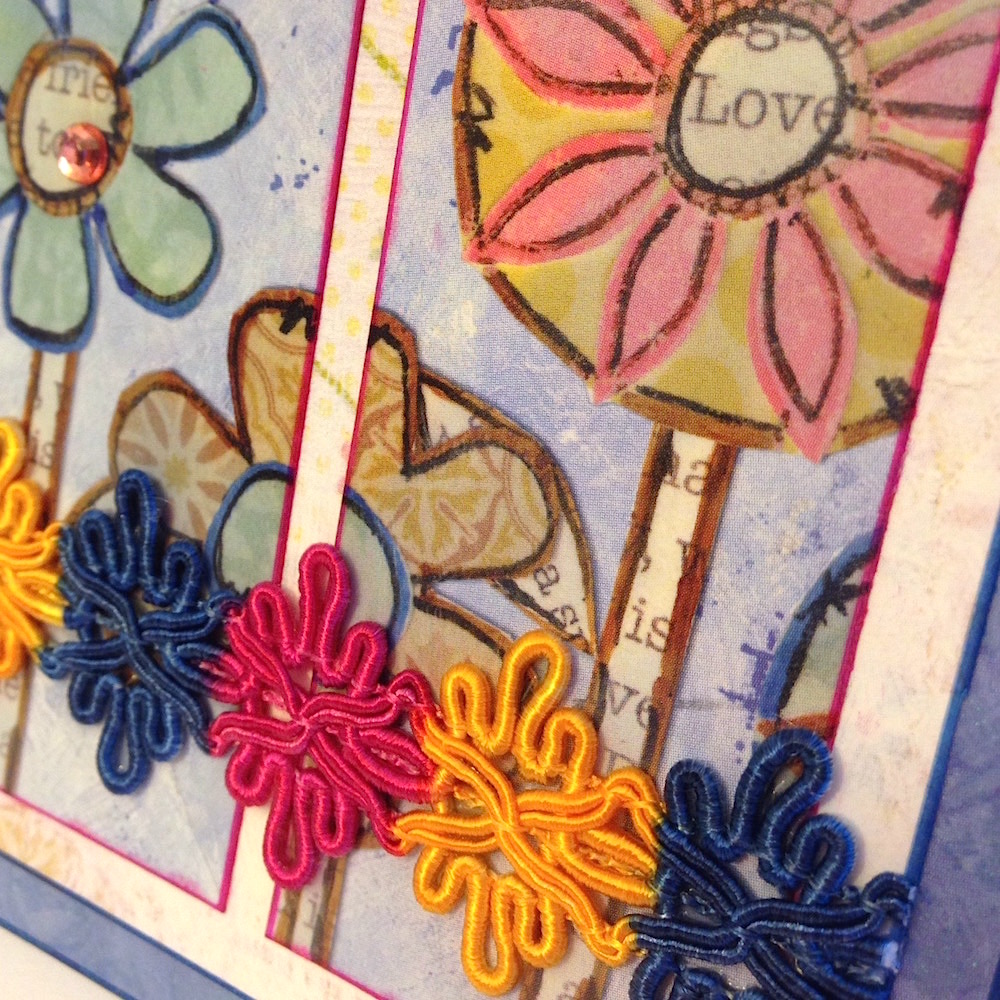
4. Use clear gel glue to adhere the trim to the front of the card panel. Dab a bit of glue along the edges to prevent unraveling.

5. Adhere the embellished panel to the folded card, add a few rhinestones in the flowers and you’re done!
What do you use to embellish your handmade cards?
